
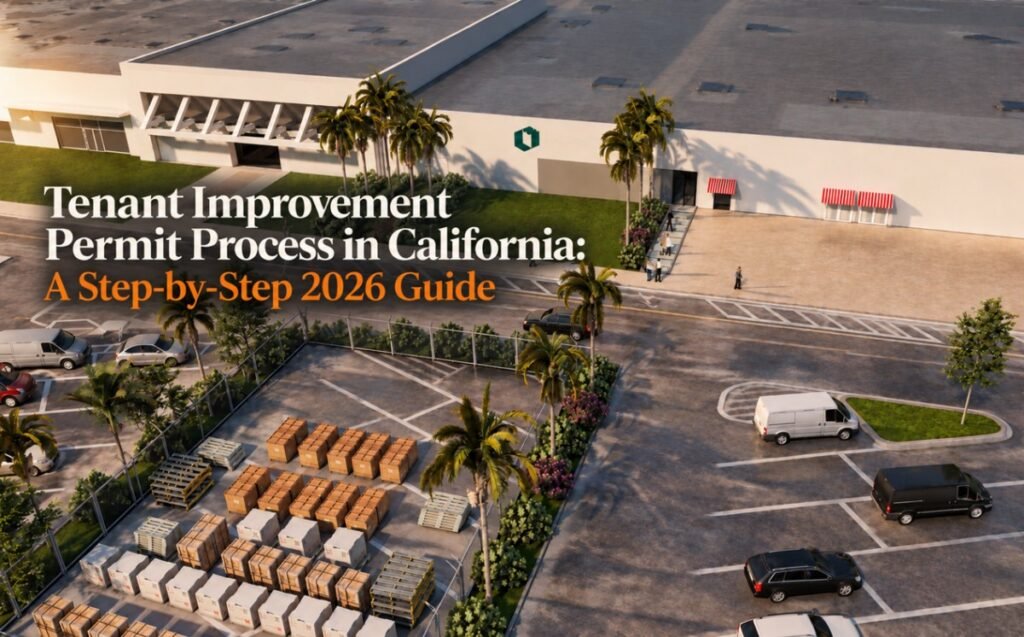
Getting a tenant improvement permit is one of the biggest hurdles between signing a commercial lease and opening your doors. Miss a step, and you can lose weeks and thousands of dollars. Do it right, and your build-out stays on schedule.
This guide walks you through the tenant improvement (TI) permit process in plain English — what needs a permit, the exact steps, how long it takes, what it costs per square foot in 2026, and why permits get delayed. It applies across California, with specific notes for Los Angeles and LADBS (the Los Angeles Department of Building and Safety).
What Is a Tenant Improvement (TI) Permit?
A tenant improvement (TI) permit is an approval from your local building department that lets you legally remodel or build out the inside of a leased commercial, retail, or industrial space. It confirms that your changes meet local building codes, fire-safety rules, accessibility standards, and zoning requirements.
In short, the permit protects both the tenant and the property owner. It keeps the work safe and legal, and it prevents fines, forced do-overs, or trouble down the road when you sell, refinance, or renew the lease. In Los Angeles, most TI permits are handled by LADBS.
What Tenant Improvement Projects Need a Permit in Los Angeles?
In Los Angeles, most commercial tenant improvements need a building permit — especially any work that touches the structure, electrical, plumbing, or mechanical systems. Purely cosmetic work usually does not. Here is a simple breakdown:
| Usually needs a permit | Usually does NOT need a permit |
| Moving or building interior walls | Painting and wallpaper |
| Changing the use or occupancy of the space | New carpet or flooring over an existing floor |
| Accessibility (ADA) upgrades — ramps, doorways, restrooms | Swapping a light fixture on the same circuit |
| New or relocated electrical wiring and panels | Minor cosmetic finishes and trim |
| Adding or moving plumbing — sinks, toilets, water lines | Furniture, shelving, and décor |
| HVAC and mechanical work | Signage repair (check your sign permit rules) |
| Structural changes and load-bearing walls | Like-for-like fixture replacement |
| Energy upgrades under Title 24 |
Rule of thumb: if the work changes the layout, the systems, the safety features, or the way the space is used, plan on a permit. When in doubt, confirm with LADBS or your design team before you start.
A closer look at the common categories
- Interior renovations: Remodeling offices, retail stores, restaurants, and other commercial spaces — new layouts, updated finishes, or design changes that improve how the space works and looks.
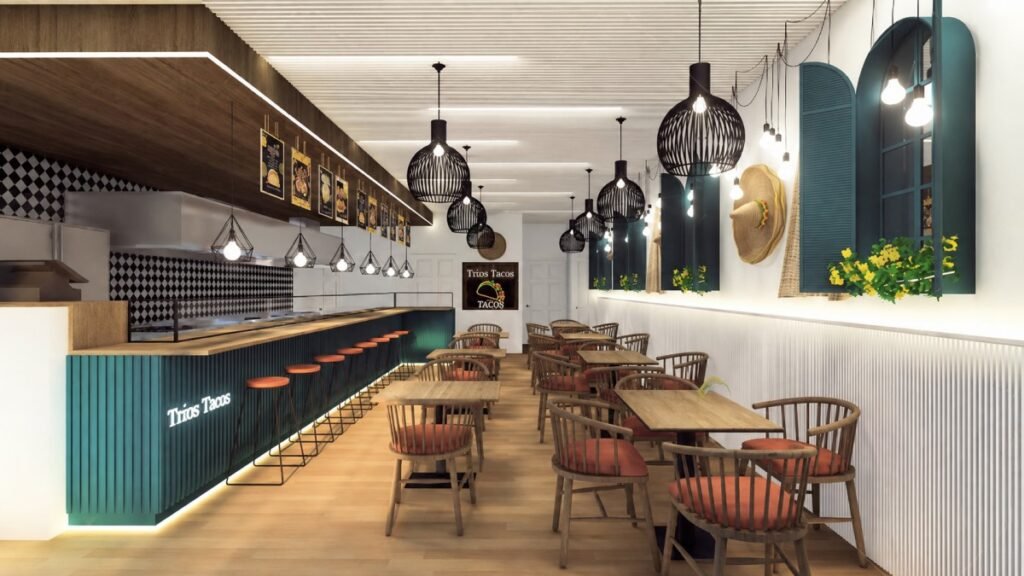
- Change of occupancy or use: Switching a space to a new use (say, retail to restaurant) can trigger different building, fire, accessibility, and safety rules, so the space often needs upgrades to match.
- Accessibility (ADA) improvements: Adding ramps, widening doorways, or building accessible restrooms so the space works for everyone and meets ADA and California accessibility standards.
- Energy-efficiency upgrades: Changes that cut energy use and costs. In California, these often must meet Title 24 energy standards, which can require energy calculations.
- Electrical work: New lighting, upgraded panels, or rewiring to meet current safety codes.
- Plumbing changes: Adding or relocating sinks, toilets, and water lines, coordinated with the rest of the build-out.
- Mechanical / HVAC: Heating, cooling, and ventilation work, which usually needs detailed mechanical plans and calculations.
- Structural work: Removing or adding walls, reinforcing the building, or changing load-bearing parts — this needs engineering plans to keep the building safe.
Not sure whether your project needs a permit? FAST BUILD reviews your space and scope and tells you exactly what to expect — before you spend money on drawings. Contact us for a quick feasibility review.
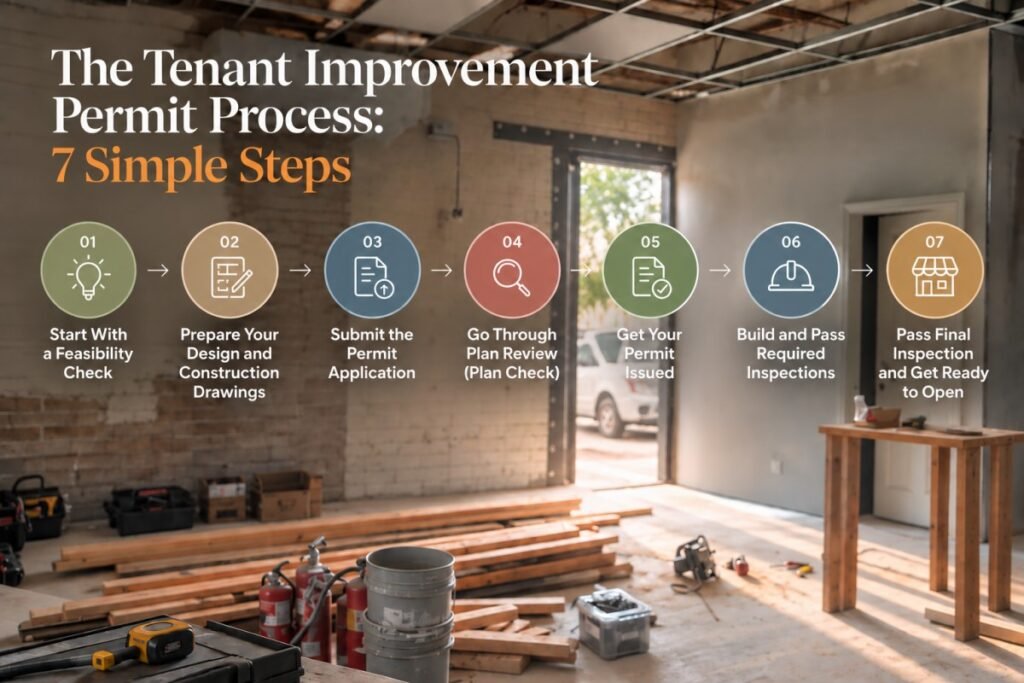
The Tenant Improvement Permit Process: 7 Simple Steps
The permit process can feel complicated at first, but it gets much easier when you break it into clear steps. Here is how a typical retail or commercial TI project moves from idea to open doors.
Step 1: Start With a Feasibility Check
Before you spend money on detailed drawings, make sure your planned improvements are actually allowed. Check the property’s zoning, permitted use, signage rules, and existing conditions. Review your lease and confirm whether you need landlord approval. Then clearly define what you want to change — layout, storefront, lighting, HVAC, plumbing, or electrical.
Why it matters: Catching a problem now is far cheaper and faster than finding it after your plans are already submitted.
Step 2: Prepare Your Design and Construction Drawings
Once the project is confirmed as feasible, it moves into the technical phase. Your architect and consultants create the drawings needed for permit review. Depending on the scope, this can include architectural, structural, electrical, mechanical, and plumbing plans. The drawings must show how the space will be built while meeting building codes, accessibility, and life-safety rules.
Why it matters: A complete, well-coordinated drawing set means fewer plan-check comments and fewer costly resubmissions.
Step 3: Submit the Permit Application
With the drawings done, you submit the permit package to the city or jurisdiction (LADBS in Los Angeles). A typical package includes the permit application, construction drawings, owner or landlord authorization, contractor information, project valuation, and extra documents like Title 24 energy forms when required. Double-check that the package is complete — a single missing document can hold up the whole review.
Step 4: Go Through Plan Review (Plan Check)
Now the city gets involved. Depending on the project, different departments may review your plans — Building, Planning, Fire, and Health. Getting comments (also called correction notices) at this stage is normal. The key is to answer them accurately and keep every drawing coordinated. Simple projects may qualify for over-the-counter or express plan check and clear in a few days; larger projects go through standard plan check.
Why it matters: Fast, accurate responses to correction notices keep your project from stalling. Each round of back-and-forth can add weeks.
Step 5: Get Your Permit Issued
Once the reviews are done and all comments are resolved, you move to permit issuance. After you pay the required fees, you receive the approved permit and stamped plans. This is your green light to start permitted construction. Starting work before the permit is issued can lead to a stop-work order, penalties, and even tearing out finished work.
Step 6: Build and Pass Required Inspections
With the permit in hand, construction begins. Your contractor must follow the approved plans, and inspectors check the work at set stages — which may include framing, electrical, plumbing, mechanical, and final inspections. If something needs to change mid-project, confirm whether it needs a permit revision before you build it.
Step 7: Pass Final Inspection and Get Ready to Open
The final inspection is where it all comes together. Inspectors confirm the finished work matches the approved plans and meets safety and code requirements. Once you pass, the jurisdiction may issue a Certificate of Occupancy (CO) or other final sign-off. At that point, your space is ready to open its doors to customers.
How Long Does a Tenant Improvement Permit Take in California?
Most tenant improvement permits take about 4 to 12 weeks, depending on the jurisdiction and how complex the project is. Simple projects can clear over-the-counter in days; bigger build-outs take longer. A change of occupancy, a complex MEP scope, or fire and health department review pushes you toward the slower end — and every correction cycle can add several weeks.
| Stage | Typical time |
| Over-the-counter / express plan check (simple projects) | Same day to a few business days |
| Standard LADBS commercial plan check | 4–12 weeks |
| Each correction / resubmittal cycle | Adds a few weeks |
| Change of occupancy or fire/health review | Pushes toward the longer end |
The most reliable way to shorten the timeline is to work with an experienced team. FAST BUILD has specialized engineers for each part of your project, which cuts design time and keeps the drawings accurate and coordinated — so you get fewer corrections and a faster approval.
How Much Does a Tenant Improvement Cost Per Square Foot in 2026?
Tenant improvement construction costs in 2026 generally run from about $50 to more than $250 per square foot. The wide range comes down to the type of space, the condition of the existing shell, the level of finishes, and the location. Specialized spaces like restaurants, medical offices, and labs sit at the top of the range.
| Project type (2026) | Typical cost per square foot |
| Light office refresh (second-generation space) | $25–$75 / SF |
| Standard mid-range office or retail build-out | $75–$150 / SF |
| High-end office or retail | $150–$250 / SF |
| Restaurant / food service | $200–$400 / SF |
| Medical or dental office | $175–$350 / SF |
Two things widen the gap even more. A second-generation space (one that already had a similar tenant, so you can reuse existing systems) usually costs less than a cold shell built out from scratch. Location matters too: high-cost metros like Los Angeles often run 15% to 50% above national averages because of higher labor rates, stricter codes, and longer permit timelines.
Two budget cautions
- These are hard costs only. Design fees, permit and plan-check fees, and furniture, fixtures, and equipment (FF&E) are extra. LADBS permit fees on a commercial TI can run anywhere from a few thousand dollars into the tens of thousands, based on project valuation.
- A landlord’s tenant improvement allowance rarely covers everything. The TI allowance in your lease is usually quoted per square foot and often falls short of the real build-out cost. The gap is money you may need to pay out of pocket.
Want the full cost picture for LA — including TI allowances by submarket? See our companion guide, Tenant Improvement in Los Angeles: 2026 Cost & Permit Guide.
Common Reasons TI Permits Get Delayed
Most tenant improvement permit delays come from a few avoidable issues: incomplete paperwork, drawings that do not match, and coordination gaps. The most common ones:
- Incomplete documentation: Missing details, unclear drawings, or inconsistent information trigger correction notices and resubmissions.
- Mismatched drawings: Architectural plans that do not line up with the structural design, or MEP changes that were not carried through to every sheet.
- Zoning and code issues: Projects that do not meet zoning or building-code rules can be delayed or denied until they are fixed.
Knowing these ahead of time helps you plan for delays and avoid surprise costs before construction starts. A coordinated, complete permit set is the single best defense.
What’s Inside a TI Permit Drawing Set?
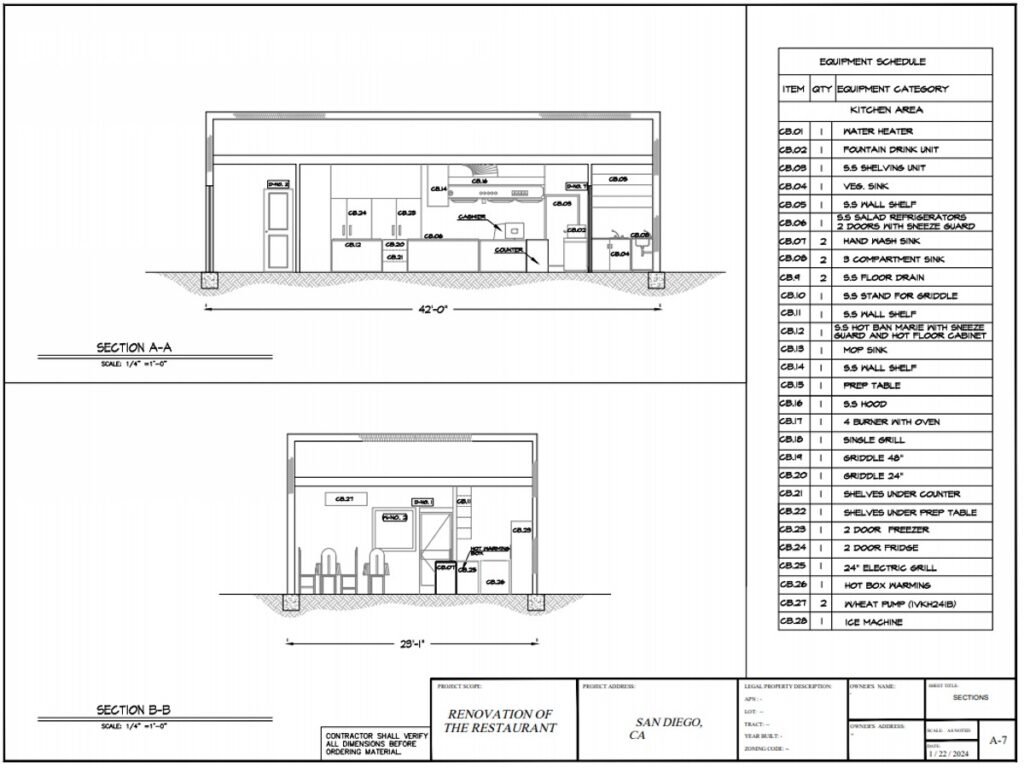
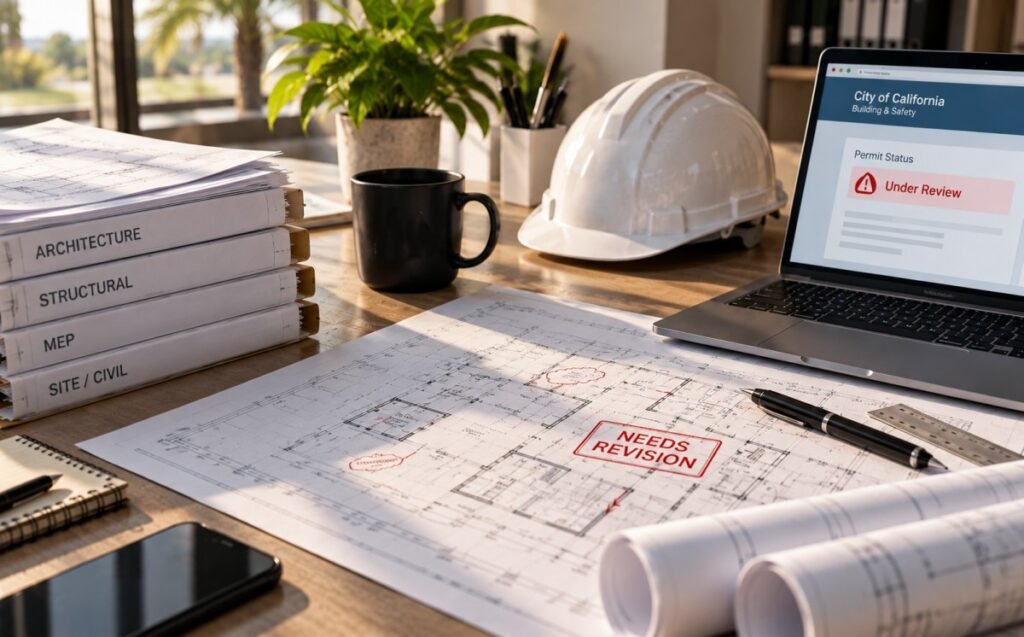
A tenant improvement permit drawing set is the package of plans your design team submits for review. Here is what a complete set usually includes:
- Title / cover sheet: Key project info — address, occupancy classification, construction type, applicable codes, square footage, and a sheet index. Reviewers look here first to understand the scope.
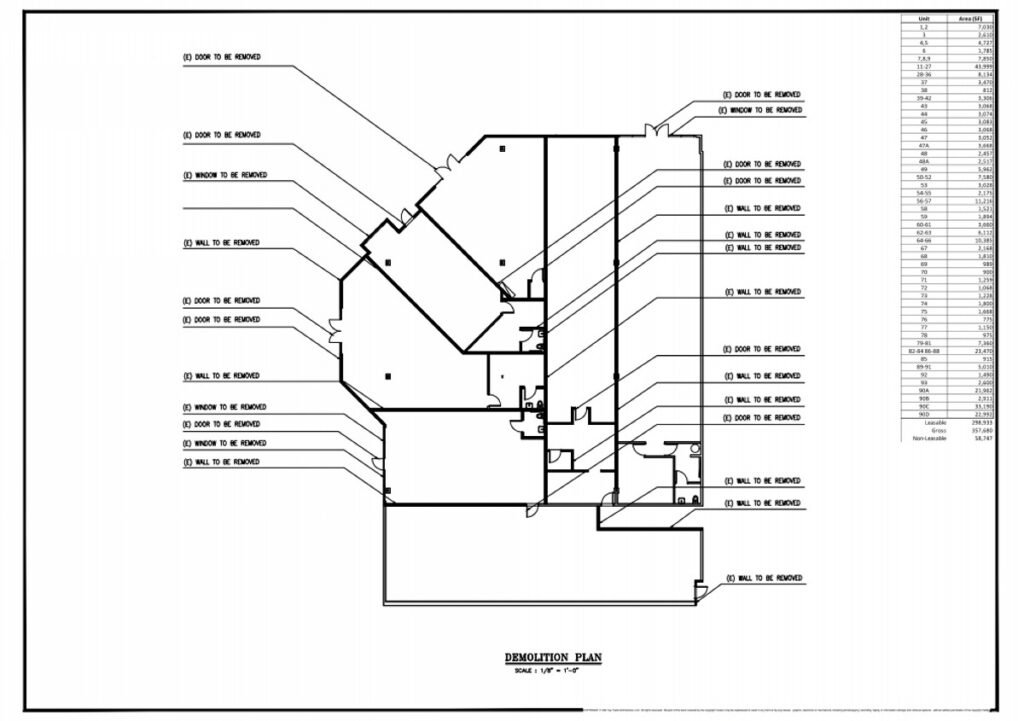
- Architectural drawings: Existing plans, demolition plans, the proposed floor plan, site plan, roof plan, building sections, and elevations. Sometimes 3D models or site photos are added to help reviewers and contractors.
- Fire / life-safety plan: Occupant loads, exit locations, travel distances, and fire-rated assemblies. Fire officials review this page closely.
- Accessibility details: How the project meets ADA and California accessibility rules — accessible routes, restrooms, and required clearances.
- MEP drawings: Mechanical, electrical, and plumbing systems, usually as separate stamped engineered sheets, with Title 24 energy forms as needed.
- General notes: Project-wide requirements covering framing, foundation, MEP, and architectural work.
- CALGreen requirements: The parts of the California Green Building Standards Code (CALGreen) that apply to your project.
- Structural drawings: Structural framing, foundation plans, and details where structural work is involved.
- Detail sheets: Close-up views of specific elements — door details, wall assemblies, built-in connections — so contractors know exactly how to build them.
Need a permit-ready drawing set? FAST BUILD’s in-house engineers prepare fully coordinated TI permit packages built to pass plan check the first time. Reach out to get your project moving.
Frequently Asked Questions (FAQ)
TI stands for tenant improvement — the construction work done to customize the inside of a leased commercial, retail, or industrial space for a specific tenant.
In most cases, yes. Any work involving walls, structure, electrical, plumbing, mechanical, or a change of use needs an LADBS permit. Purely cosmetic work — like paint or new carpet — usually does not.
Usually 4 to 12 weeks. Simple projects can clear over-the-counter in days, while a change of occupancy, complex MEP work, or fire and health review takes longer. Each round of corrections adds a few weeks.
Most projects run $50 to $250+ per square foot. Light office refreshes are at the low end; restaurants and medical offices are the most expensive, often $175–$400 per square foot.
It depends on the lease. Landlords often provide a tenant improvement allowance (a set dollar amount per square foot), but it rarely covers the full cost. The tenant usually pays the difference out of pocket.
No. Starting work without an issued permit can lead to a stop-work order, fines, and having to remove completed work. Always wait for the permit and stamped plans.
A Certificate of Occupancy is the final approval confirming your space meets code and is safe to occupy. It is often issued after the final inspection, especially when the use or occupancy of the space has changed.
Ready to Start Your Tenant Improvement Project?
The permit process is smoother when your drawings are complete, coordinated, and code-ready from the start. FAST BUILD handles TI design and permit packages for commercial, retail, restaurant, and medical spaces across Los Angeles and California — so you spend less time on corrections and more time getting open.
Get a permit-ready TI package. Contact FAST BUILD today for a feasibility review and a clear plan to get your space approved and built.